Emergency Kit Essentials: A No‑Nonsense Guide for Girls’ Group Trips

Emergency Kit Essentials: A No‑Nonsense Guide for Girls’ Group Trips
Hook: Ever had a group trip where a flat tire, a sudden fever, or a lost passport turned vacation vibes into a panic room? Yeah, me too—until I stopped treating emergencies like an after‑thought.
Why does an emergency kit matter for a girls’ group trip?
Because the odds of "something going wrong" increase exponentially when you’re coordinating flights, accommodations, and a dozen different personalities. A well‑stocked kit is the single most reliable way to keep the group from spiraling into blame‑games and budget‑blowouts.
What should be in your emergency kit?
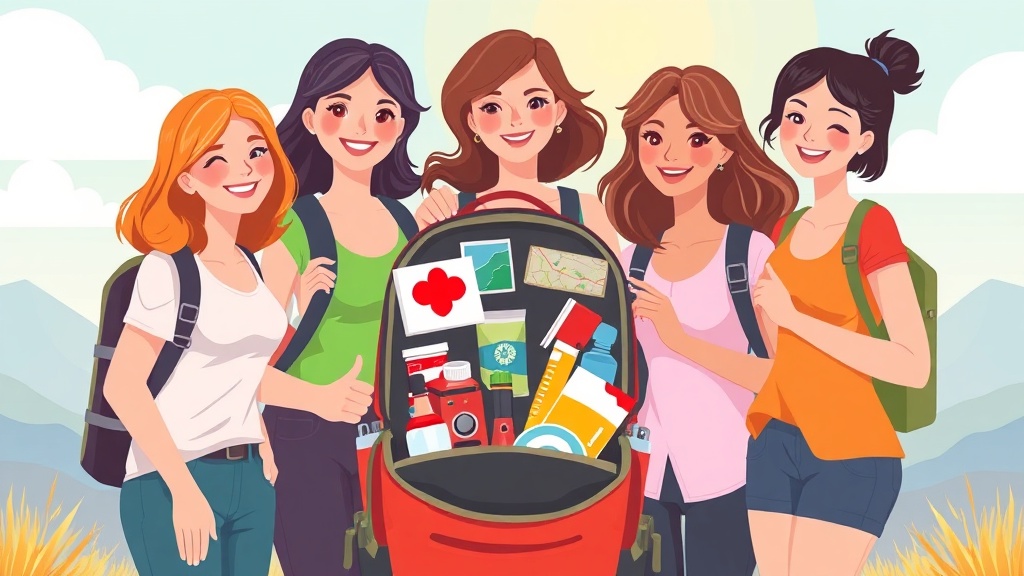
1. Health & First‑Aid
- Basic band‑aids, gauze, antiseptic wipes – a scratched heel is a real thing.
- Pain relievers (ibuprofen or acetaminophen) – for hangovers, sore backs, or unexpected cramps.
- Prescription meds & a copy of the prescription – keep them in a zip‑lock bag for moisture protection.
- Travel‑size first‑aid manual – the Red Cross quick‑guide is perfect for non‑medics.
2. Documentation & Money
- Photocopies of passports, IDs, and travel insurance cards – store in a waterproof pouch.
- Emergency cash (USD 100‑200 in small bills) – for places that don’t take cards.
- Digital backup on a secure cloud folder – encrypted PDF for quick access.
3. Tech & Navigation
- Portable power bank (10,000 mAh minimum) – keep the group chat alive.
- Universal travel adapter – one‑size‑fits‑all for European sockets.
- Offline maps (Google Maps offline pack or MAPS.ME) – no Wi‑Fi, no problem.
4. Safety Gear
- Mini flashlight or headlamp – essential for late‑night arrivals.
- Whistle – a simple way to signal if someone gets separated.
- Reusable water bottle with purification tablets – stay hydrated without hunting bottled water.
5. Comfort & Miscellaneous
- Travel‑size laundry detergent pods – because someone will inevitably spill wine on a shirt.
- Multi‑tool (Leatherman or Swiss Army) – cuts, screwdrivers, bottle‑openers—everything.
- Reusable zip‑lock bags – waterproof storage for electronics or snacks.
How to pack and distribute the kit
- Designate a "Kit Captain."
- Why? It mirrors my project‑management background: one point person reduces duplication and ensures accountability.
- Use a clear, hard‑sided backpack (think Pelican or a sturdy duffel). Label it "EMERGENCY KIT" in bold marker.
- Create sub‑pouches for each category (Health, Docs, Tech, Safety, Comfort). This way, anyone can grab exactly what they need without rummaging.
- Assign ownership:
- Health → the friend with the most medical knowledge.
- Docs → the planner who handles the itinerary.
- Tech → the gadget‑guru.
- Safety → the self‑proclaimed "survivalist."
- Comfort → the designated morale‑booster.
- Do a quick “kit check” at the start of each day—just a 30‑second glance to confirm everything’s still there.
Pro tips for customizing your kit
- Add a small travel‑size stain remover pen if your group loves red wine (which we all do).
- Include a compact travel pillow for those overnight bus rides where the driver forgets to stop.
- Pack a spare pair of flip‑flops—they’re a lifesaver after long airport walks.
- If you’re heading to a beach destination, toss in a waterproof phone case; sand and water are notorious for ruining phones.
- Create a shared Google Sheet titled "Emergency Kit Inventory" where each member checks off items they’re responsible for. (See my Group Trip Roles Template for a ready‑made version.)
Common mistakes (and how to avoid them)
| Mistake | Why it hurts | Fix |
|---|---|---|
| Overpacking – stuffing the kit with “just in case” items you’ll never use. | Adds weight, makes the kit unwieldy. | Stick to the 5‑category list; add extras only if the destination truly demands them. |
| Leaving it in the hotel room – assuming you’ll remember it later. | Lost or stolen, and you’re stuck without it. | Keep the kit in a carry‑on that stays with the group at all times. |
| Not updating meds or documents after a trip. | Out‑of‑date prescriptions or expired insurance cards. | Perform a quick audit before each new trip; replace expired items. |
| Relying on one person to remember the kit – no redundancy. | If the Kit Captain forgets, the whole group suffers. | Duplicate critical items (e.g., a spare charger) and cross‑train members. |
Wrap‑Up: Your next steps
- Print this checklist and share it in the group chat.
- Assign roles using the Group Trip Roles Template.
- Buy or assemble your kit this weekend—don’t wait until the night before departure.
- Schedule a 5‑minute kit walkthrough at the airport or before you board the train.
When you treat the emergency kit like a project deliverable—clear scope, assigned owners, and a deadline—it stops being a “maybe” and becomes a guarantee that the trip stays fun, not frantic.
Related Reading
- The Arrival Day Protocol – How to nail the first day and avoid chaos.
- Group Travel Insurance 2026: No‑Nonsense Guide – Because insurance is the ultimate backup.
- The Splitwise Sermon – Keep the money talks painless.
Sources
- CDC – Travel Health Tips: https://www.cdc.gov/travel/page/travel-tips.html
- American Red Cross – First Aid Kit Checklist: https://www.redcross.org/get-help/how-to-prepare-for-emergencies/first-aid-kit.html
- Travel.gov – Emergency Preparedness: https://travel.state.gov/content/travel/en/traveladvisories/travel-preparations.html
- U.S. Department of State – Travel Alerts: https://travel.state.gov/content/travel/en/traveladvisories/traveladvisories.html
<meta.faqs>
[{
"question": "What is the minimum power bank capacity for a group trip?",
"answer": "A 10,000 mAh power bank can charge most smartphones at least twice, which is usually sufficient for a weekend getaway."
}, {
"question": "Do I need a separate emergency kit for each destination?",
"answer": "No. Pack a versatile master kit and add location‑specific items (like sunscreen for beach trips) as needed."
}, {
"question": "How often should I replace the items in my emergency kit?",
"answer": "Check expiration dates on meds and batteries every six months; replace any worn or out‑of‑date items before each trip."
}]
</meta.faqs>
Steps
- 1
Assign a Kit Captain
Pick the friend who’s naturally organized to own the emergency kit and keep it tracked throughout the trip.
- 2
Choose a sturdy, clear backpack
Use a hard‑sided bag (e.g., Pelican) and label it EMERGENCY KIT so it’s instantly recognizable.
- 3
Organize items into sub‑pouches
Create separate zip‑lock pouches for Health, Docs, Tech, Safety, and Comfort—makes grabbing what you need painless.
- 4
Allocate category ownership
Match each sub‑pouch to a group member based on expertise (e.g., the med‑savvy friend handles Health).
- 5
Do a daily kit check
Spend 30 seconds each morning confirming everything’s still in place before you head out.